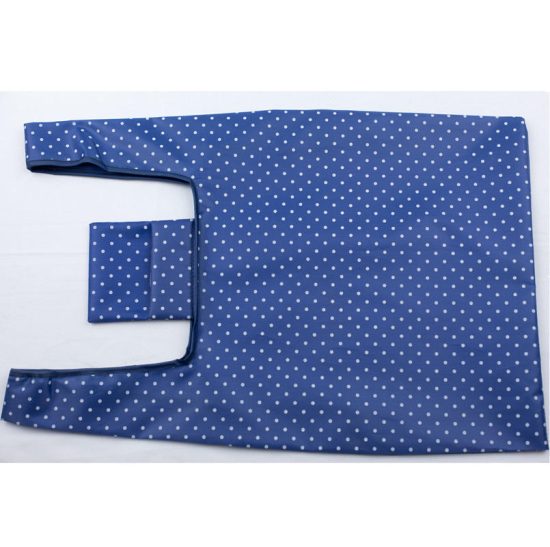
Making your own DIY cotton bags is a fun and easy project that anyone can do. Here are the steps you can follow to make your own:
- Gather materials: You’ll need some cotton fabric, scissors, thread, and a sewing machine (or needle if you prefer to hand-sew).
- Cut the fabric: Cut the cotton fabric to your desired size and shape. You can make a simple rectangular shape, or get creative with different shapes and sizes.
- Sew the edges: Fold over the edges of the fabric and sew them down. This will create a hem and prevent the fabric from fraying.
- Sew the sides: Next, fold the fabric in half (right sides facing each other) and sew the sides together. You can use a sewing machine or hand-sew with a needle and thread.
- Add handles: To make the bag easier to carry, you can add handles. Cut two strips of fabric and sew them onto the top of the bag.
- Turn the bag right-side out: Turn the bag right-side out by pulling it through the opening at the top.
- Finish the bag: Finally, give the bag a final press with an iron and trim any loose threads.
There you have it – your very own DIY cotton bag! You can customize your bag with different colors, patterns, and sizes to suit your needs. Making your own cotton bags is a great way to reduce your waste and save money, while also getting creative and having fun.


